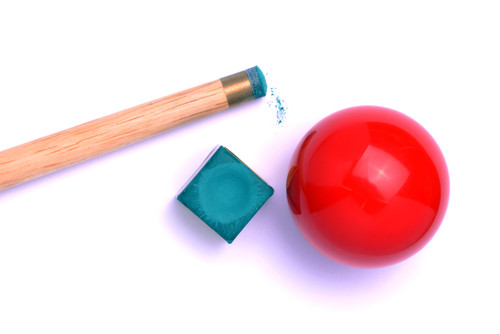
Mastering the Art of Replacing a Pool Cue Tip
If you're a pool player, you know how important it is to have a properly functioning cue stick. One of the most common issues with a pool cue is a worn or damaged tip. But don't worry, with a little bit of guidance, replacing a pool cue tip can be a simple and straightforward process.
Step 1: Removing the Old Tip To remove the old tip, use a sharp blade to carefully cut the tip off. Make sure to remove any remaining glue residue from the ferrule.
Step 2: Preparing the Ferrule The ferrule is the white, protective piece that sits between the tip and the shaft. Before gluing on the new tip, you'll need to clean and lightly sand the ferrule.
Step 3: Sizing the New Tip Using a tip-sizing tool, find the appropriate size tip for your cue. You want to choose a tip that is slightly larger than the ferrule.
Step 4: Gluing the New Tip Apply a thin layer of glue to the bottom of the new tip and the top of the ferrule. Carefully place the tip onto the ferrule and use a clamp or other holding tool to keep it in place while the glue dries.
Step 5: Shaping the New Tip Once the glue is dry, you can begin shaping the tip to your preferred curvature. Use a tip shaper or sandpaper to get the desired shape and texture.
By following these simple steps, you can easily replace a pool cue tip and get your cue stick back in playing shape. Remember to take your time and be patient during the process to avoid any mishaps.
In summary, replacing a pool cue tip is a straightforward process that any pool player can master with a little bit of guidance. By following our step-by-step guide, you'll be able to replace your cue tip with confidence and get back to playing your best game.

 US Dollars
